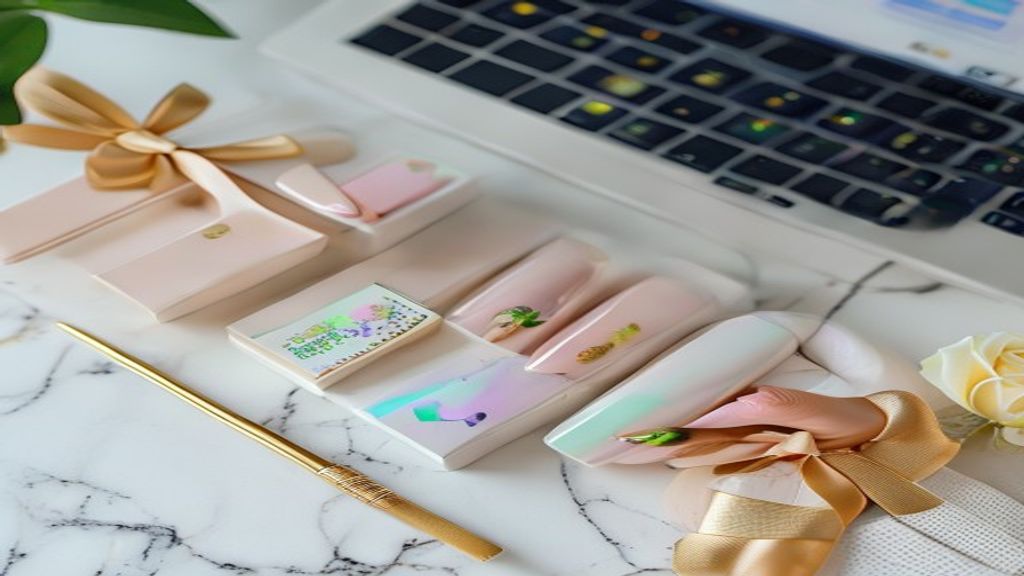
The beauty and cosmetics industry is undergoing a massive digital and retail shift, with custom hand-painted press-on nails emerging as one of the fastest-growing and most lucrative sectors. Once associated with cheap, generic, artificial-looking plastic kits from local convenience stores, modern press-on nails are now recognized as premium, reusable, salon-quality fashion accessories. For creative entrepreneurs, starting a press-on nail business at home offers a golden opportunity to launch a highly profitable venture with low overhead costs, minimal space requirements, and high scalability.
If you are searching for legit ways to make money from home while expressing your artistic talent, starting a custom nail brand is an excellent choice. It combines the flexibility of home-based manufacturing with the power of modern e-commerce. In this comprehensive, step-by-step business blueprint, we will guide you through the process of building a successful home-based press-on nail business from scratch. We cover everything from keyword-targeted branding and raw material sourcing to sanitation setups, sizing kits, pricing formulas, and viral social media marketing.
Why the Press-On Nail Industry is Booming

The global demand for custom press-ons is driven by a combination of macroeconomic shifts, convenience, and changing consumer preferences. Traditional salon visits require time, appointments, and recurring costs that strain budgets. A single salon manicure can cost anywhere from $60 to over $150, especially for intricate gel art or acrylic extensions. Press-on nails offer consumers salon-quality designs at a fraction of the cost, with the added benefit of being reusable.
For business owners, the model is highly attractive because of its low startup costs and high profit margins. Unlike running a physical salon, a home-based business has minimal utility bills, no commercial lease, and very little inventory waste, aligning with U.S. Small Business Administration (SBA) guidance on lean startup operations. It stands out as one of the best 16 businesses to start with $500 or less due to the simplicity of the materials. You can easily produce luxury sets that retail for $40 to $100 while spending less than $5 on raw materials. This creates a highly profitable business model that can be operated from a small kitchen table or desk.
The Convenience and Custom Art Shift
Modern consumers prioritize convenience and flexibility. Press-on nails can be applied in ten minutes at home and removed easily without damaging natural nails. Furthermore, custom hand-painted press-ons allow clients to wear designs that are impossible or too time-consuming for average salon techs to paint on natural nails. This shift allows independent nail artists to dominate the market by offering customized services directly to consumers online.
Defining Your Brand Identity and Nail Niche
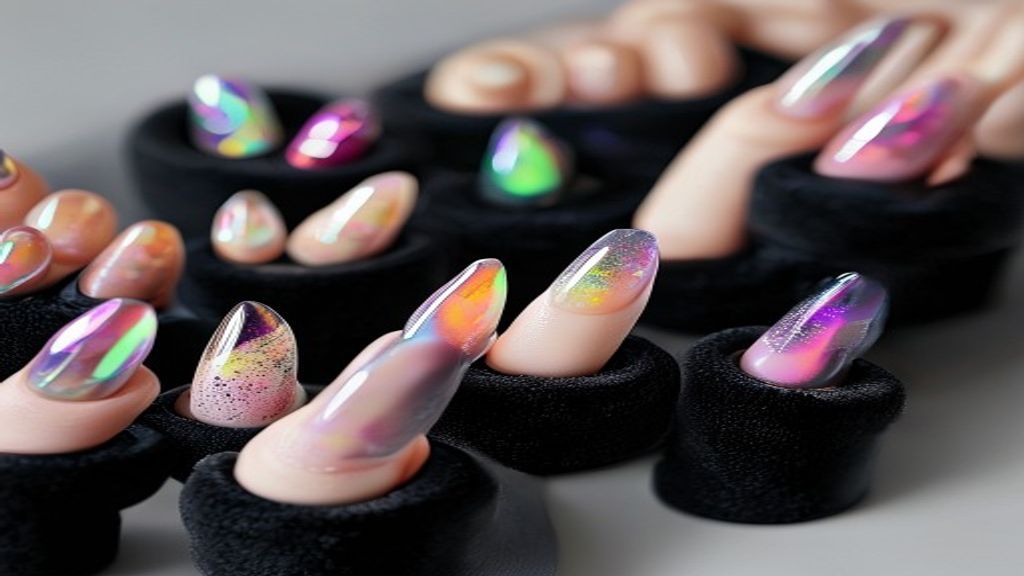
Success in the competitive beauty industry requires a clear brand identity. If you try to sell generic designs to everyone, you risk competing with mass-produced factory sets sold in supermarkets. Instead, define your unique design signature and target a specific nail niche.
Finding Your Design Signature
Your niche could focus on minimalist everyday wear, bold holographic designs, dark goth and punk styles, or high-end bridal luxury sets. Focus on a style that aligns with your artistic strengths. For example, if you excel at fine line work, you might focus on intricate hand-painted floral designs. If you prefer bold colors, holographic or chrome sets might be your calling. Having a signature style makes your brand instantly recognizable on social media.
Identifying Your Target Demographics
Research who your customers are. Are they students looking for affordable, temporary glam? Are they professional office workers who cannot wear long nails to work but want stunning sets for the weekend? Or are they cosplayers and performers who require custom theme sets? Understanding these groups helps you tailor your packaging, pricing, and social media messaging. As you learn how to make a budget for your business, matching your product line to client expectations ensures a steady stream of sales.
Sourcing Professional-Grade Supplies and Materials

To build a premium brand, you must use high-quality materials that look professional and last for weeks. Sourcing cheap materials will lead to broken nails, chipping paint, and negative customer reviews, which will quickly ruin your brand’s reputation online.
Choosing Nail Tip Types
The foundation of any press-on set is the nail tip itself. Avoid cheap ABS plastic tips, which are flimsy and bend easily. Instead, source soft gel full-coverage tips. Soft gel tips look natural, feel comfortable, and bind beautifully with gel polish. You will need to offer various shapes (coffin, almond, stiletto, square) and lengths (short, medium, long, extra-long) to accommodate customer preferences.
Essential Polishes and Curing Equipment
Invest in professional-grade gel base coats, color polishes, and topcoats. Gel polish must be cured under a high-power UV/LED lamp. Sourcing materials from authorized global distributors ensures you are using safe ingredients compliant with FDA cosmetics safety regulations. For nail prep, you will need files, buffers, wooden cuticle pushers, and alcohol prep pads. You should also source high-quality nail glue and adhesive tabs, which are included in your application kits. If you need initial capital to buy these supplies, exploring 100+ side hustle ideas to make money on the side can help you raise funding.
Setting Up a Safe, Ergonomic Home Studio

Creating a dedicated, organized workspace is crucial for safety and efficiency. Working with gel polishes, acrylics, and acetone requires proper ventilation and comfortable furniture, as you will spend hours sitting and painting.
Designing an Efficient Workstation
Setup your workspace at a large desk with a comfortable, adjustable ergonomic chair. Use organizer drawers to sort nail tips by size and shape, and keep polishes neatly displayed on tiered racks. A clean, white silicone desk mat protects your table from spills and acetone damage. Good lighting is also crucial: use a daylight-balanced LED desk lamp to ensure your painting is precise and the colors look accurate.
Ventilation and Sanitation Essentials
Working with nail products releases chemical fumes and fine nail dust. A tabletop nail dust collector is essential to capture dust during tip buffing. You should also work in a room with good cross-ventilation or use a personal air purifier with an active carbon filter. Keep sanitation top of mind: disinfect your tools and work surfaces with isopropyl alcohol between sets to maintain professional cosmetic standards. Wear a face mask to prevent inhaling dust and fumes.
The Step-by-Step Press-On Nail Production Workflow

An organized, repeatable workflow is the key to scaling your business. Creating press-ons involves meticulous preparation, art application, and quality checks. This ensures that every set you ship is identical in quality and durability.
Cleaning, Buffing, and Prepping Tips
Start by selecting the correct sizes for the set. Mount the tips onto painting stands using mounting putty. Next, buff the underside of the nail tip where it contacts the natural nail; this creates a textured surface that helps glue adhere better, extending wear time for the customer. Wipe the tips down with isopropyl alcohol to remove any residual oil and dust before painting.
Painting, Layering, and Curing
Apply a thin layer of gel base coat and cure it under your UV/LED lamp for the recommended time (usually 60 seconds). Next, apply your color coats, curing after each layer. When painting, keep layers thin to prevent bubbling or uneven curing. Apply your custom nail art—whether hand-painted designs, chrome powders, or rhinestones—and seal everything with a high-quality topcoat. Cure the final topcoat thoroughly to ensure a glossy, scratch-resistant finish.
Quality Control and Mounting
Inspect each finished nail under bright light. Ensure there are no dust particles, bubbles, or sticky residues. Test the flexibility of the tips to make sure they remain strong and won’t split. Once they pass inspection, mount them securely onto your branded packaging card using double-sided tape, matching the order of sizes from left to right.
Branding, Packaging, and Sizing Kits
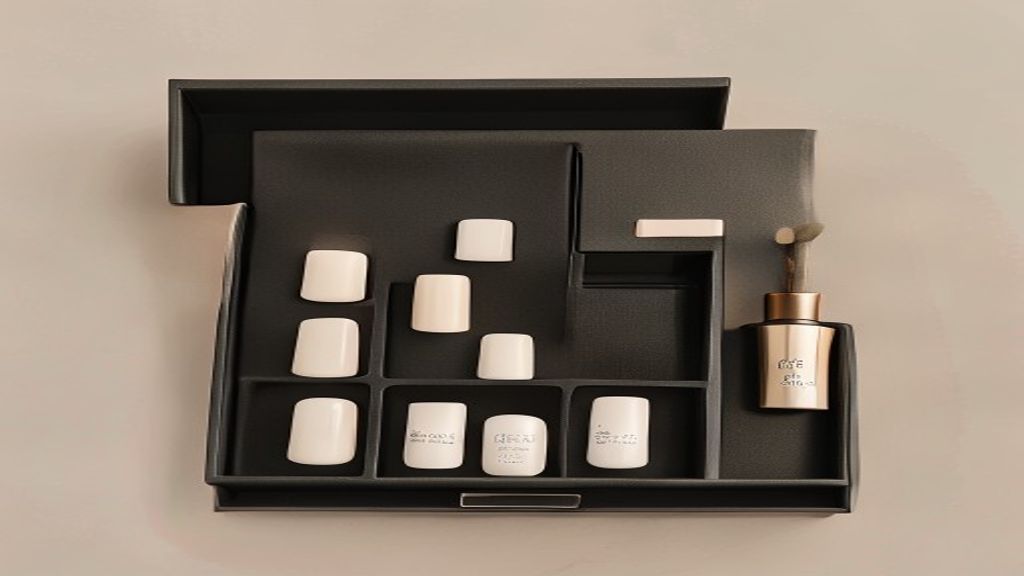
Your packaging is the first physical interaction a customer has with your brand. A luxury unboxing experience increases the perceived value of your product and encourages social media sharing, which acts as free marketing for your business.
Creating Premium Unboxing Experiences
Use custom branded boxes lined with tissue paper. Mount the nails neatly on a card using double-sided tape. Along with the nails, include a complete application kit containing a mini buffer, file, cuticle stick, prep pads, nail glue, and adhesive tabs. Add a beautifully printed instruction card detailing how to apply and remove the nails. This shows your customers that you care about their experience and want their manicure to last.
The Operational Role of Sizing Kits
Fit is everything. If press-ons are too large or too small, they will fall off or look fake. To solve this, offer sizing kits. A sizing kit contains one blank tip of every size in a specific shape. Customers order a sizing kit first, write down their sizes, and then order their custom set. This eliminates fitting issues and returns, saving you time and money. It also builds trust with your customers, knowing their sets will fit perfectly.
Building Your E-Commerce Store and Online Presence

Once your product line is ready, you need a digital storefront to display and sell your creations. Your store should be professional, easy to navigate, and optimized for mobile devices, as most customers shop from their phones.
Choosing the Right E-Commerce Platform
Etsy is an excellent starting platform for beginners because it has built-in traffic searching for handmade items. However, once your brand grows, transition to Shopify. Shopify gives you complete control over your branding, email marketing, and customer database without listing fees. It allows you to build a professional brand image that you own completely.
Creating Conversion-Optimized Product Listings
Take high-resolution photos of your nails in natural light. Show close-ups of the details, and include photos of the nails being worn. Write detailed descriptions listing the materials used, shape options, and instructions on how to order using sizing kits. Use clear call-to-actions, instructing customers to purchase a sizing kit if they are first-time buyers. This reduces order errors and sets clear expectations.
Marketing Your Brand: How to Get Consistent Sales
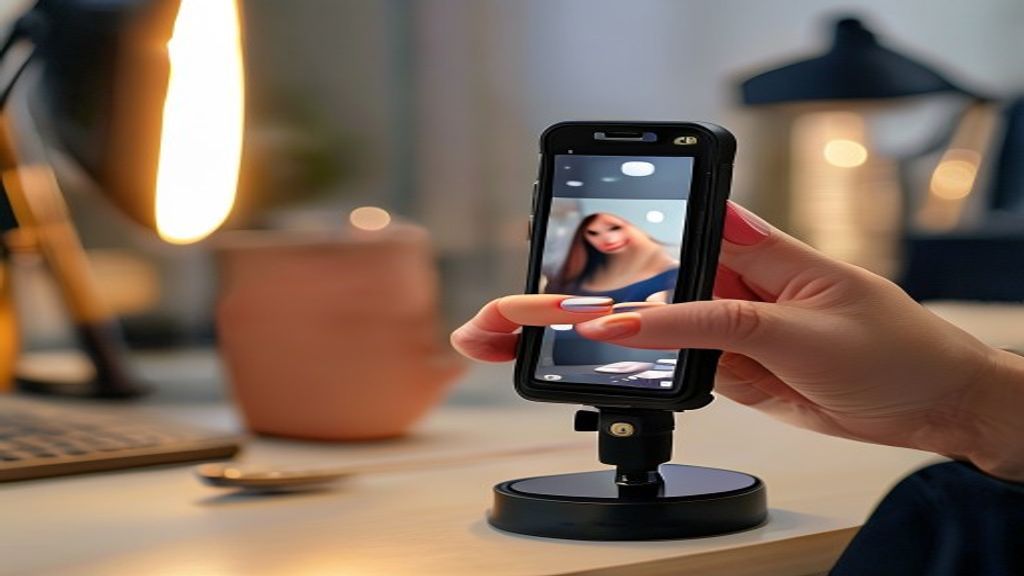
In the beauty industry, visual marketing is king. You need to showcase the quality and artistry of your nails to drive organic traffic to your store. Consistent content creation is the most effective way to build a loyal customer base.
Leveraging Instagram Reels and TikTok
Short-form video is the most powerful tool for organic growth. Create behind-the-scenes videos showing your painting process, packaging orders, and before-and-after application tutorials. Use trending music and hashtags to reach wider audiences. Show the durability of your nails by filming “wear test” videos, demonstrating that they can withstand daily tasks without falling off.
Collaborating with Micro-Influencers
Reach out to beauty content creators who align with your brand style. Offer to send them a free custom set of nails in exchange for an honest review or feature on their page. This exposes your brand to their established, trusting audience. It provides social proof and builds immediate credibility for your new business.
Pricing Your Products for Long-Term Profitability

Pricing your products correctly is the difference between running a successful business and a stressful hobby. You must account for all costs and value your time to ensure your business remains sustainable.
Calculating Materials and Labor Costs
Calculate the cost of goods sold (COGS), which includes the blank tips, polish, rhinestones, packaging box, shipping mailer, and application kit items. Next, calculate your labor. If a set takes you two hours to paint, decide on a fair hourly wage. Add your COGS and labor costs together, then add a profit margin to cover overhead and business reinvestment. Never underprice your work; customers associate higher prices with premium quality.
Structuring Pricing Tiers
Create different pricing tiers based on complexity. Simple solid-color or basic French tip sets can be priced lower ($30–$40), while complex, hand-painted art sets or bridal luxury sets with authentic crystals should be priced higher ($70–$120+). This allows you to serve different budgets while protecting your profit margins. As your business grows, keeping track of your income and expenses is key, which is why learning how to budget on a low income or managing your cash flow is critical for home-based success.
Conclusion: Launching Your Creative Empire

Starting a press-on nail business at home is an exciting and viable entrepreneurial path in 2026. By combining artistic passion with high-quality sourcing, meticulous home studio setup, professional packaging, and strategic social media marketing, you can build a successful brand from comfort of your home. It represents a low-risk, high-reward opportunity to turn your creative skills into a sustainable income stream.
Long after you ship your first set of nails, your brand’s reputation will rely on quality and customer service. Focus on perfecting your craft, stay consistent with content creation, and treat your customers like royalty. Starting your business with a clear financial plan and zero commercial debt is the ultimate luxury. Your creative empire starts with a single hand-painted tip.